As an artist, it’s important to keep track of your finances and ensure that you are getting paid for your hard work. One way to do this is by using an artist invoice.
This article will discuss the benefits of using an artist invoice and how to create one.
What is an Artist Invoice?
An artist invoice is a document that artists use to bill their clients for their services or artwork. It serves as a record of the transaction and helps both parties keep track of payments and expenses.
The invoice typically includes details such as the artist’s name, contact information, the client’s name, payment terms, and a description of the services provided.
Why Use an Artist Invoice?
Using an artist invoice offers several benefits for artists:
- Professionalism: Providing your clients with a detailed invoice shows that you take your work seriously and enhances your professional image.
- Organization: Invoices help you keep track of your income and expenses, making it easier to manage your finances and file taxes.
- Clarity: By providing a clear breakdown of the services you provide and the associated costs, you can avoid any misunderstandings with your clients.
- Payment Tracking: Invoices provide a record of when payments were made and when they are due, ensuring that you get paid on time.
- Legal Protection: In the event of a dispute, an invoice serves as evidence of the agreed-upon services and payment terms.
How to Create an Artist Invoice
Creating an artist invoice is easier than you might think. Follow these steps:
- Choose a Template: Look for an artist invoice template online or use software like Microsoft Word or Excel to create your own.
- Add Your Information: Include your name, contact information, and logo (if applicable) at the top of the invoice.
- Include Client Details: Write the client’s name, address, and contact information beneath your own.
- Add Invoice Details: Include the invoice number, issue date, payment due date, and any terms and conditions.
- Describe the Services: Provide a detailed description of the services or artwork you provided, including the quantity, rate, and any additional charges.
- Calculate the Total: Calculate the total amount owed, including any taxes or discounts.
- Provide Payment Instructions: Clearly state how and where the client should make the payment.
- Review and Send: Double-check all the information on the invoice for accuracy before sending it to your client.
Example of an Artist Invoice
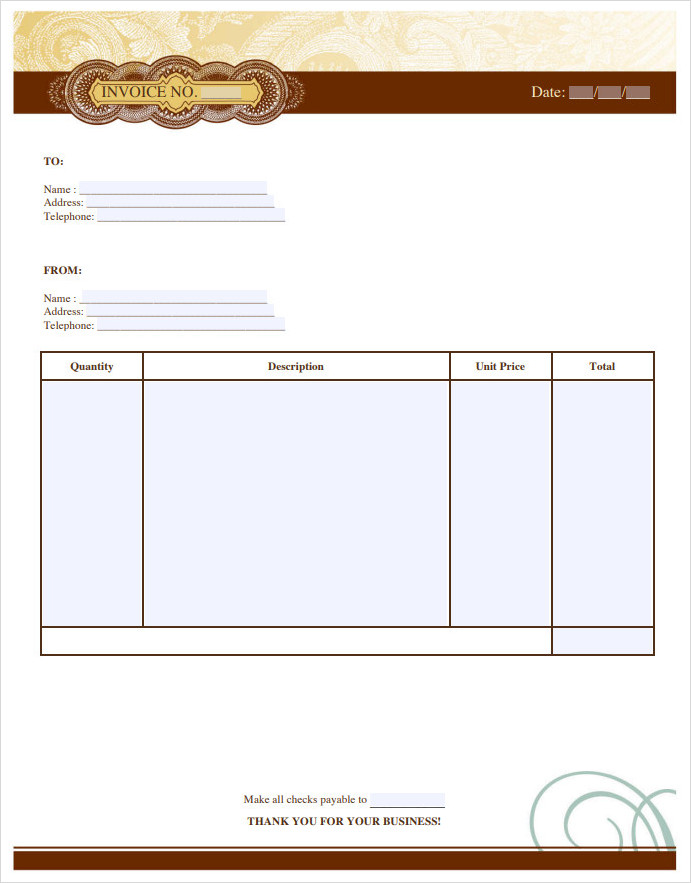
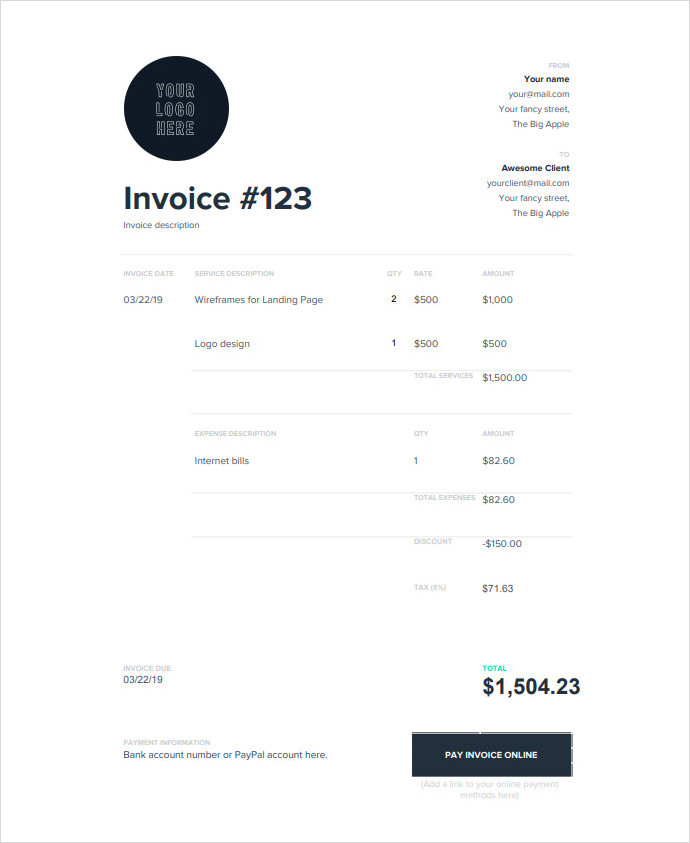
Here is an example of an artist invoice:


Tips for Successful Invoicing
Here are some tips to ensure successful invoicing:
- Be Timely: Send your invoice promptly after completing the work to avoid payment delays.
- Be Clear: Clearly outline the services provided and any additional charges to avoid confusion.
- Be Professional: Use a professional tone and format for your invoice to enhance your credibility.
- Follow-up: If the payment due date has passed, politely follow up with your client to inquire about the payment status.
- Maintain Records: Keep copies of all your invoices and payment receipts for tax and accounting purposes.
- Consider Online Invoicing: Explore online invoicing tools that can automate the process and help you track payments more efficiently.
Free Artist Invoice Template
Using an artist invoice is an essential tool for artists to ensure they get paid for their work. It helps maintain professionalism, provides clarity in payment terms, and helps artists stay organized with their finances.
By following the steps outlined in this article, artists can create effective invoices and improve their financial management.
Artist Invoice Template – Download