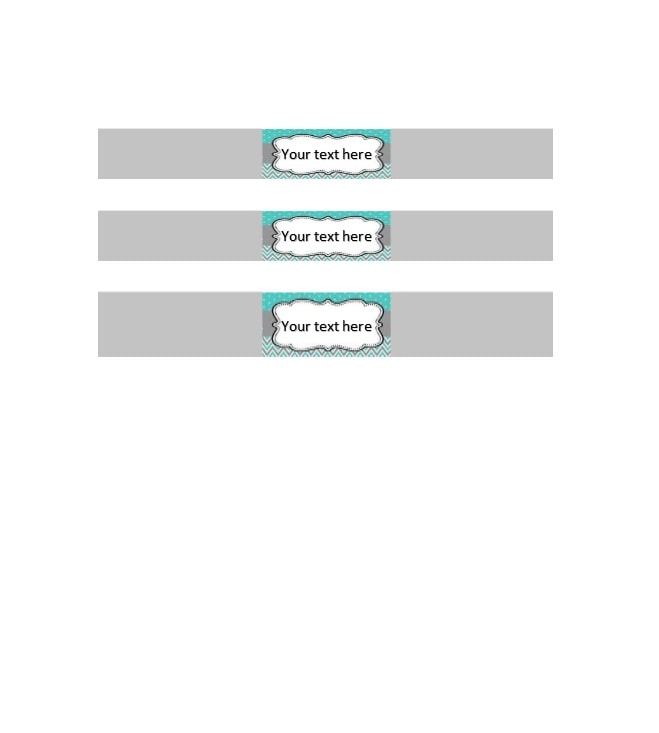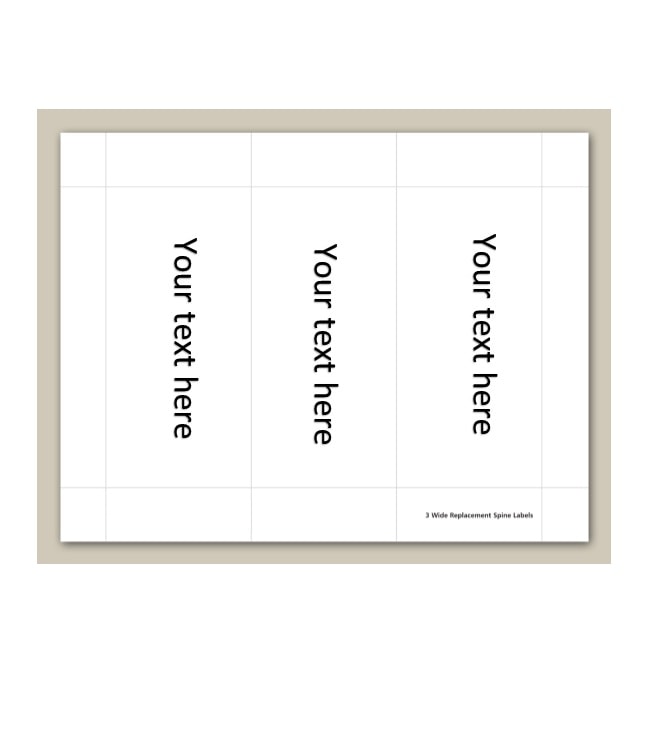
Binder spine labels are adhesive labels that can be affixed to the spines of binders to help organize and identify the contents within. They are customizable and can be printed with text, images, or both, allowing you to create a professional and personalized look for your binders.
These labels are commonly used in offices, schools, and homes to keep important documents, files, or projects neatly arranged and easily accessible.
Why Use Binder Spine Labels?
Using binder spine labels offers several benefits:
- Organization: Binder spine labels help you categorize and sort your binders, making locating specific documents or files easier.
- Professional Appearance: By using binder spine labels, you can create a polished and uniform look for your binders, whether for professional or personal use.
- Time-Saving: With clearly labeled spines, you can quickly find what you need, saving you time and effort.
- Ease of Use: Binder spine labels are easy to apply and remove, allowing you to update or replace labels as needed.
How to Print and Apply Binder Spine Labels
Printing and applying binder spine labels is a straightforward process. Here’s a step-by-step guide:
1. Gather Your Materials
To get started, you will need the following:
- A computer with word processing software
- Printer
- Blank label sheets or pre-cut label templates
- Binder(s)
- Scissors or paper trimmer (if using blank label sheets)
2. Design Your Labels
Open your word processing software and create a new document. Set the page size to match the label sheets or templates you are using. Choose a font, size, and formatting for your text. You can also add images or logos if desired.
3. Print Your Labels
Load the label sheets or templates into your printer according to the manufacturer’s instructions. Print a test sheet to ensure alignment and adjust if necessary. Once satisfied with the layout, print your labels onto the label sheets.
4. Cut and Apply the Labels
If you used pre-cut label templates, skip this step. If you used blank label sheets, carefully cut out each label using scissors or a paper trimmer. Remove the backing from the label and align it with the spine of your binder. Press firmly to ensure it adheres securely.
Examples


Tips for Successful Binder Spine Labeling
To make the most of your binder spine labels, consider the following tips:
- Use Clear and Legible Fonts: Choose fonts that are easy to read, even from a distance.
- Consistent Label Design: Create a uniform look by using the same font, size, and formatting for all your binder spine labels.
- Test Alignment: Print a test sheet and check if the labels align correctly with the spines of your binders.
- Create a Labeling System: Develop a system that works for you, such as organizing binders alphabetically, chronologically, or by category.
- Update Labels as Needed: As the contents of your binders change, update or replace the labels accordingly.
- Store Labeled Binders Vertically: Storing binders upright helps keep the labels visible and prevents them from getting damaged or obscured.
Conclusion
Binder spine labels are a practical and efficient tool for organizing your documents. With their customizable design, ease of use, and ability to create a professional look, these labels are a valuable addition to any office, school, or home organization system. By following the step-by-step guide and implementing the tips provided, you can create well-organized and aesthetically pleasing binders that will save you time and enhance your productivity.
Binder Spine Label Template – Word