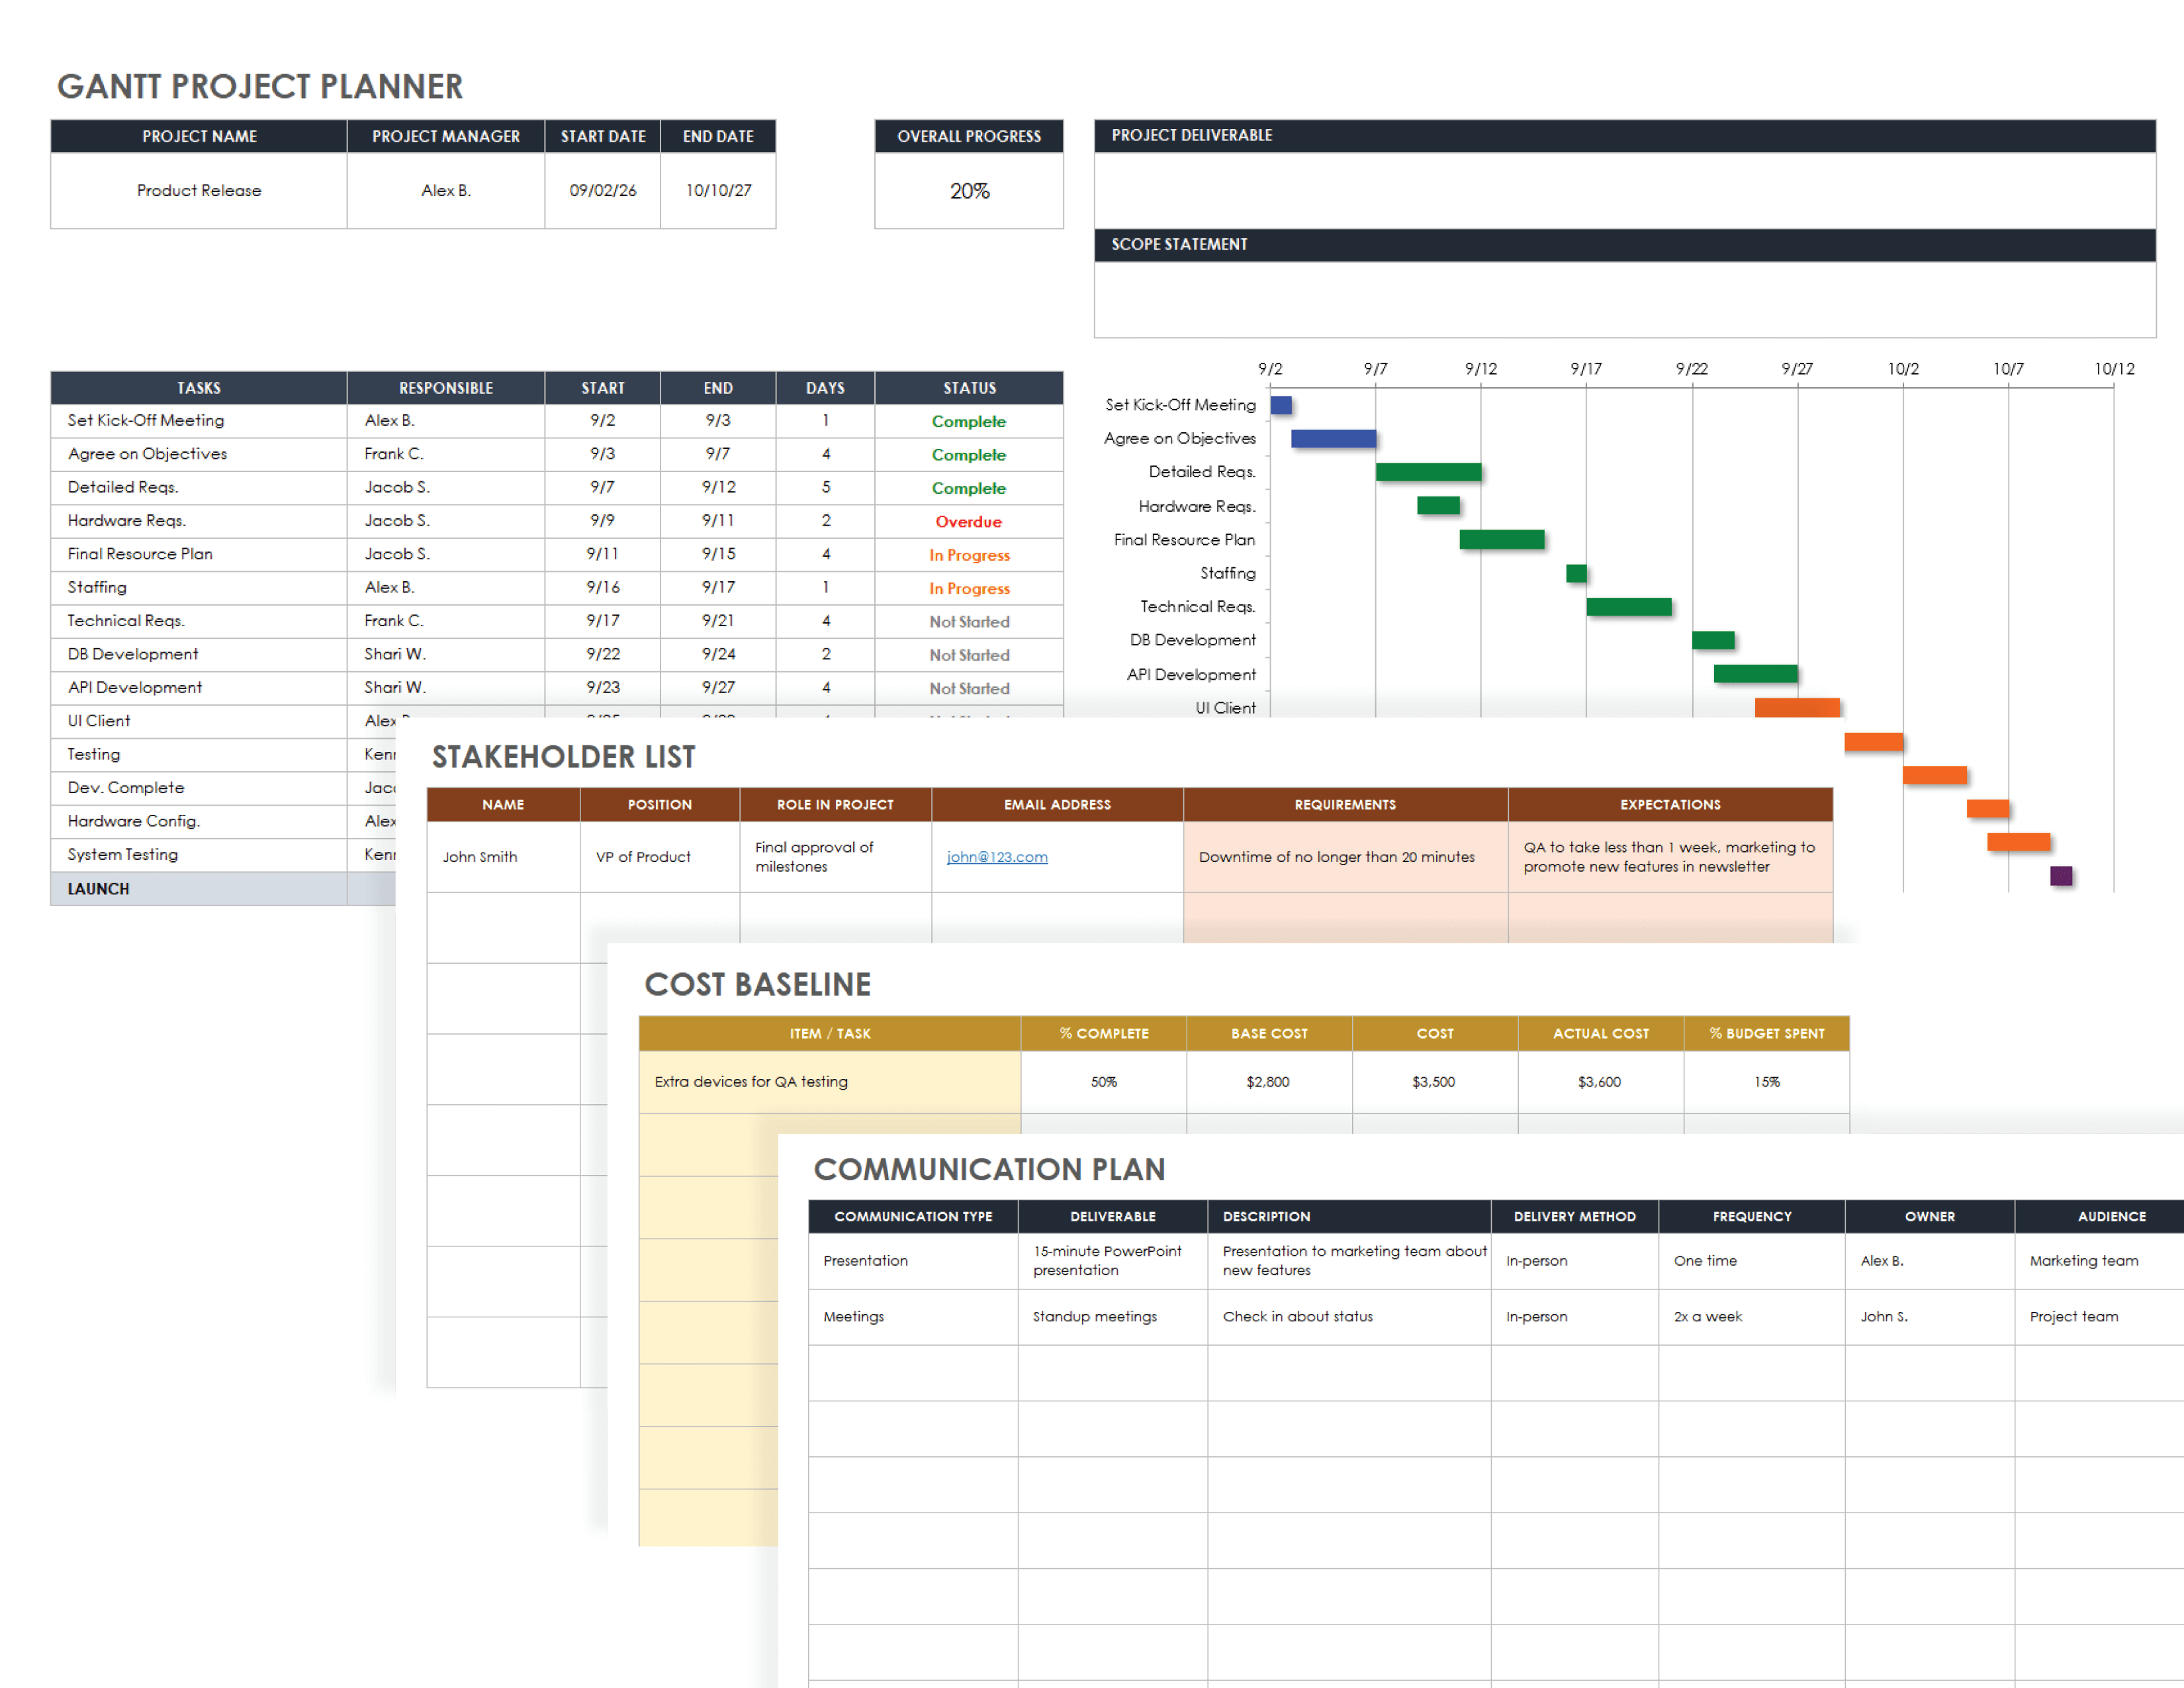
When it comes to managing projects, staying organized and keeping track of tasks is crucial for success. One effective tool that can help with project management is a Gantt chart. A Gantt chart is a visual representation of a project schedule, showing the start and end dates of tasks and their dependencies. It allows project managers to plan, schedule, and track progress more efficiently.
This article will explore the benefits of using a Gantt project planner and provide a step-by-step guide on how to create one.
What is a Gantt Project Planner?
A Gantt project planner is a physical or digital document that includes a Gantt chart, task list, and other project management tools. It allows project managers to create a visual timeline of tasks and track progress. Gantt project planners can be customized to fit the specific needs of a project and can be easily shared with team members.
Benefits of Using a Gantt Project Planner
Using a Gantt project planner offers several benefits for project management. Here are some key advantages:
- Improved Planning: A Gantt chart helps project managers plan and schedule tasks more effectively. It allows them to see the overall timeline of the project and identify potential bottlenecks or dependencies.
- Enhanced Communication: A Gantt project planner provides a visual representation of the project schedule, making it easier to communicate with team members, stakeholders, and clients. It ensures everyone is on the same page and aware of project deadlines.
- Efficient Resource Allocation: By using a Gantt chart, project managers can allocate resources more efficiently. They can identify when specific resources are needed and plan accordingly, preventing overallocation or underutilization of resources.
- Effective Task Tracking: A Gantt chart allows project managers to track the progress of tasks in real time. It helps them identify delays or issues and take corrective actions to keep the project on track.
- Improved Time Management: With a Gantt chart, project managers can prioritize tasks and allocate time more effectively. It helps them identify critical tasks and ensure they are completed on time.
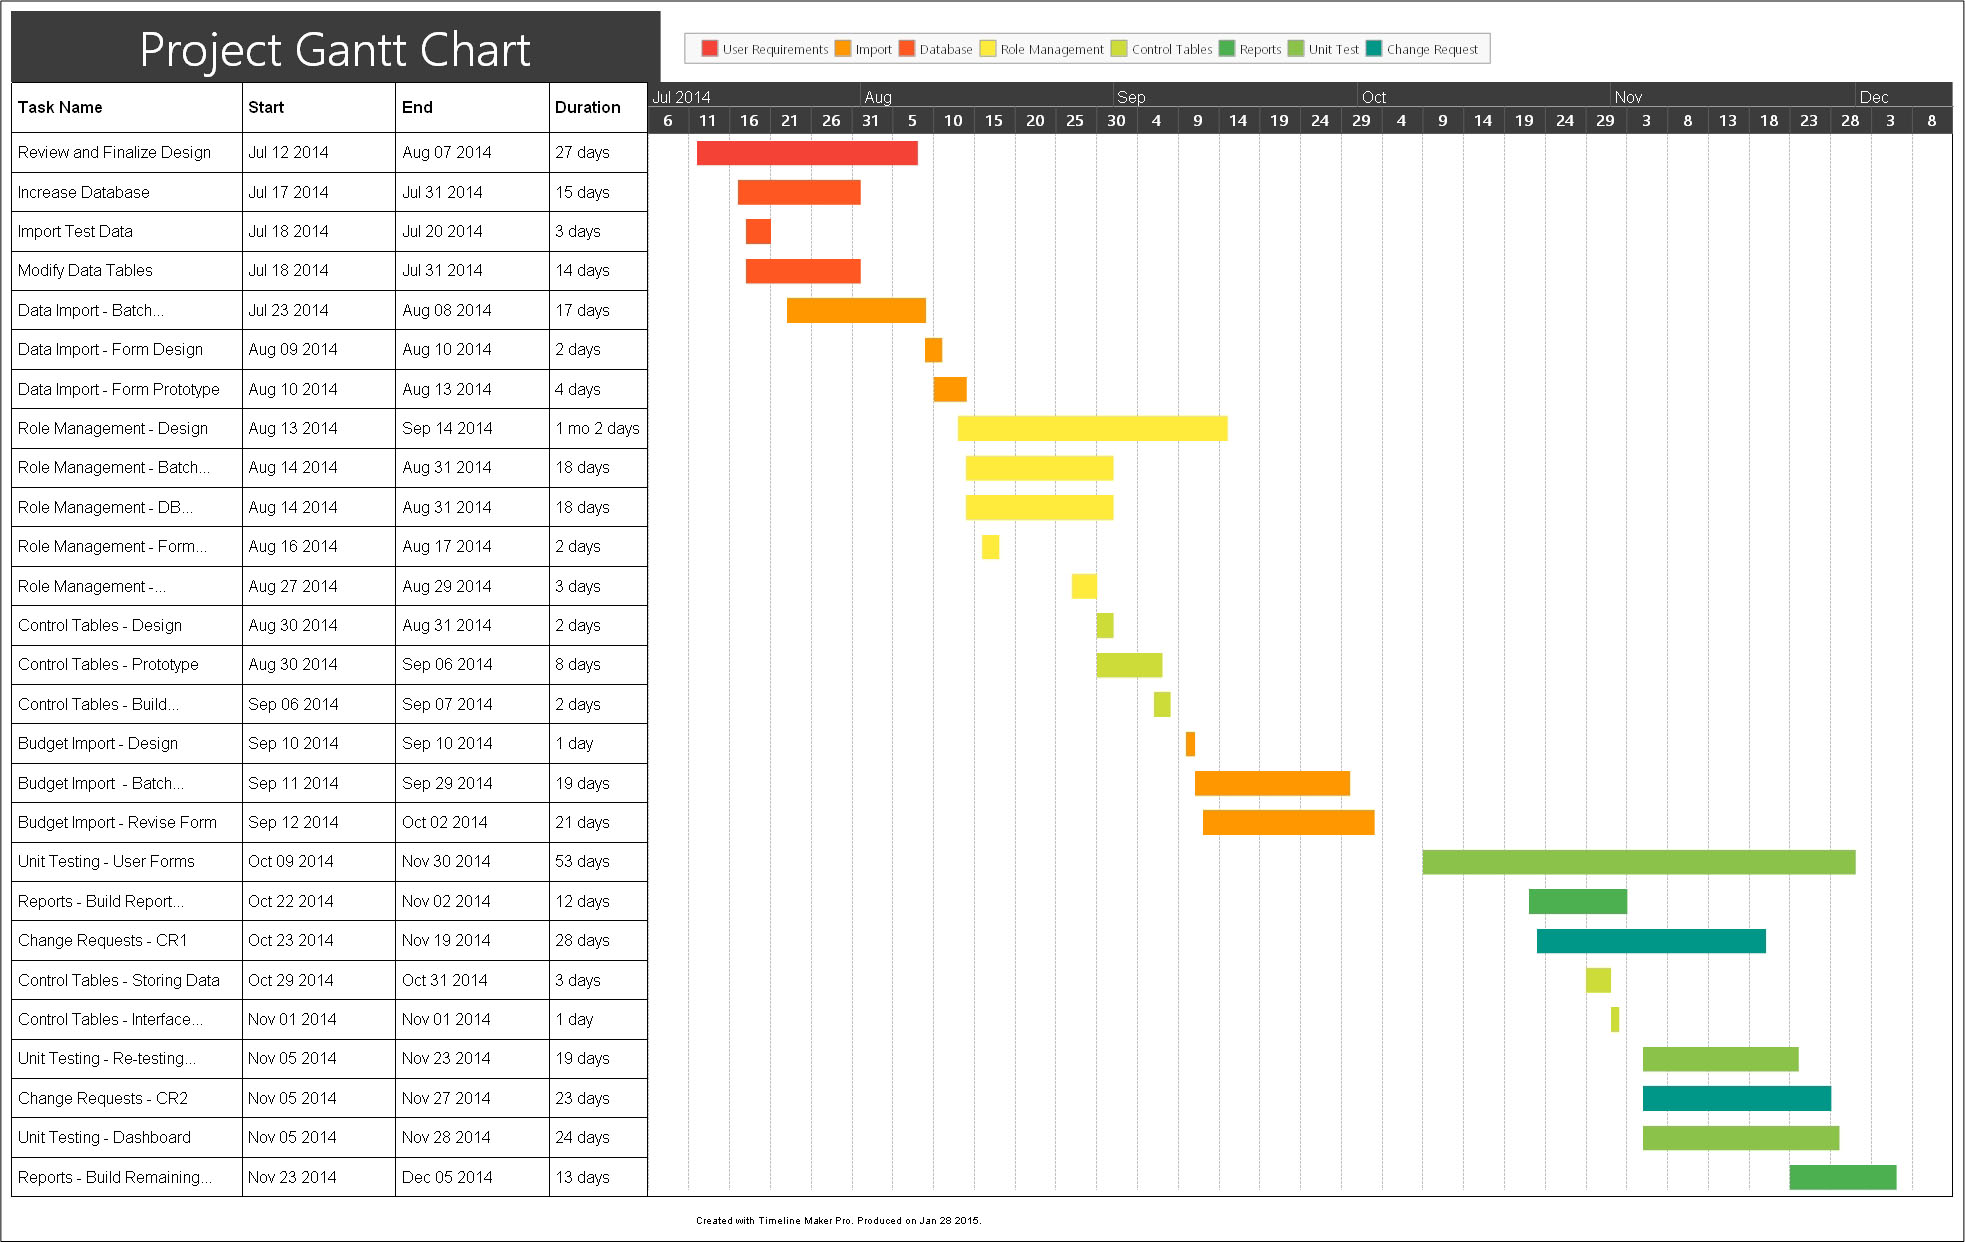
How to Create a Gantt Project Planner
Creating a Gantt project planner involves several steps. Follow the guide below to create your own:
Step 1: Define Project Tasks
The first step in creating a Gantt project planner is to define all the tasks required to complete the project. Break down the project into smaller, manageable tasks and list them in chronological order.
Step 2: Determine Task Dependencies
Identify the dependencies between tasks. Some tasks may need to be completed before others can start. Understanding these dependencies is crucial for accurate project scheduling.
Step 3: Assign Task Durations
Estimate the duration of each task. This will help you allocate the appropriate amount of time for each task and create a realistic project schedule.
Step 4: Create the Gantt Chart
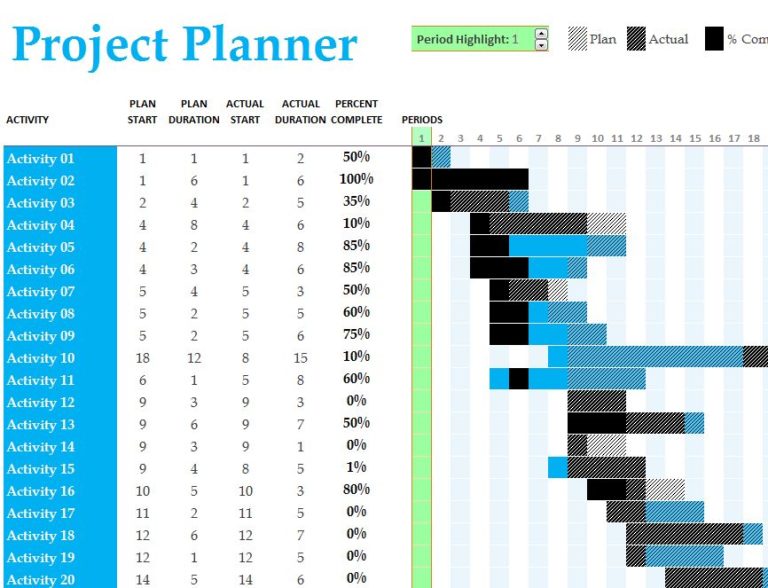
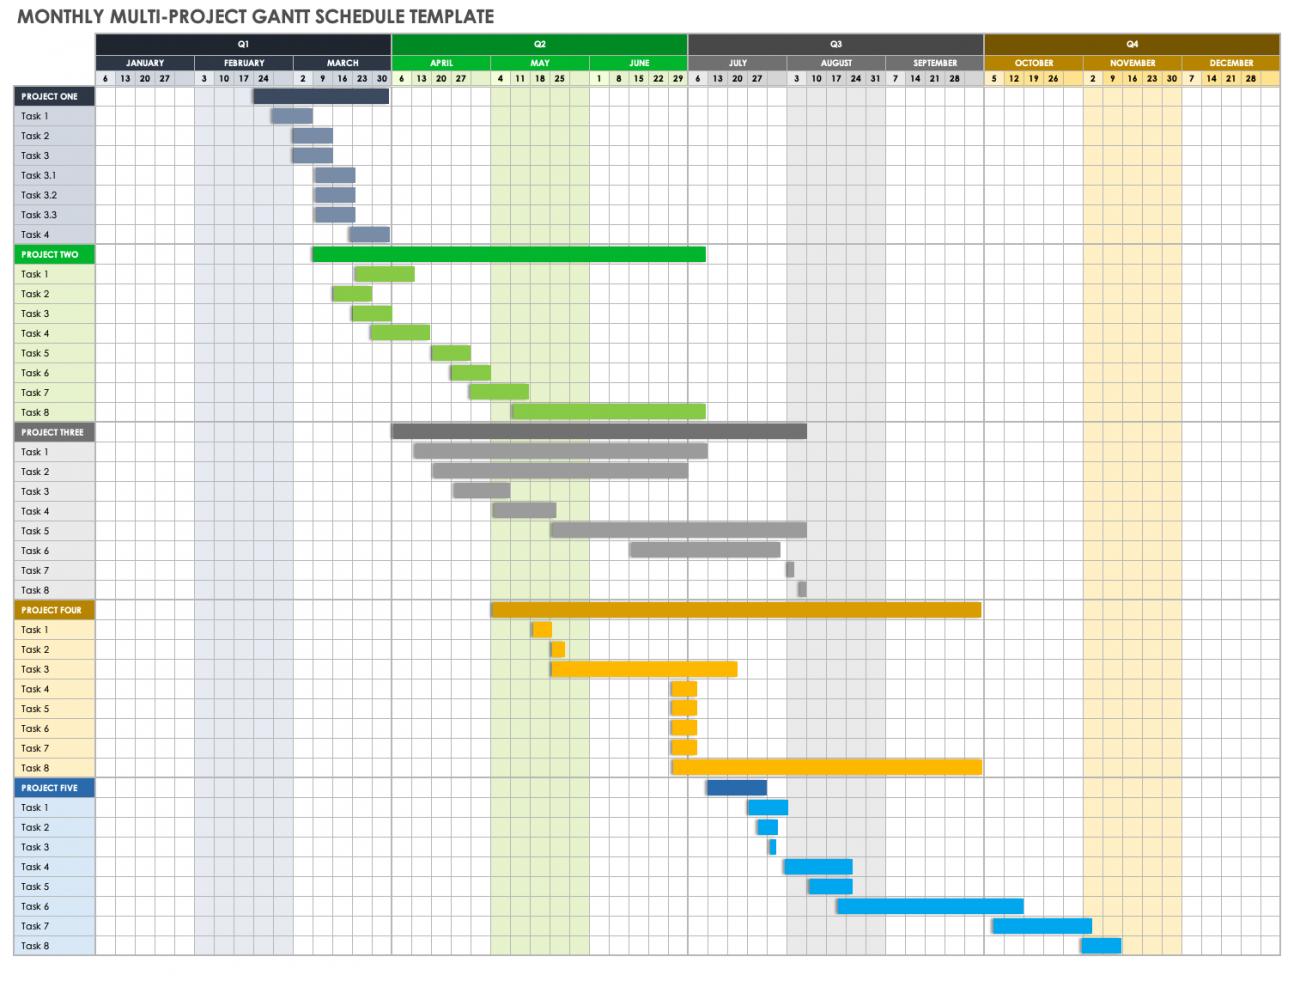
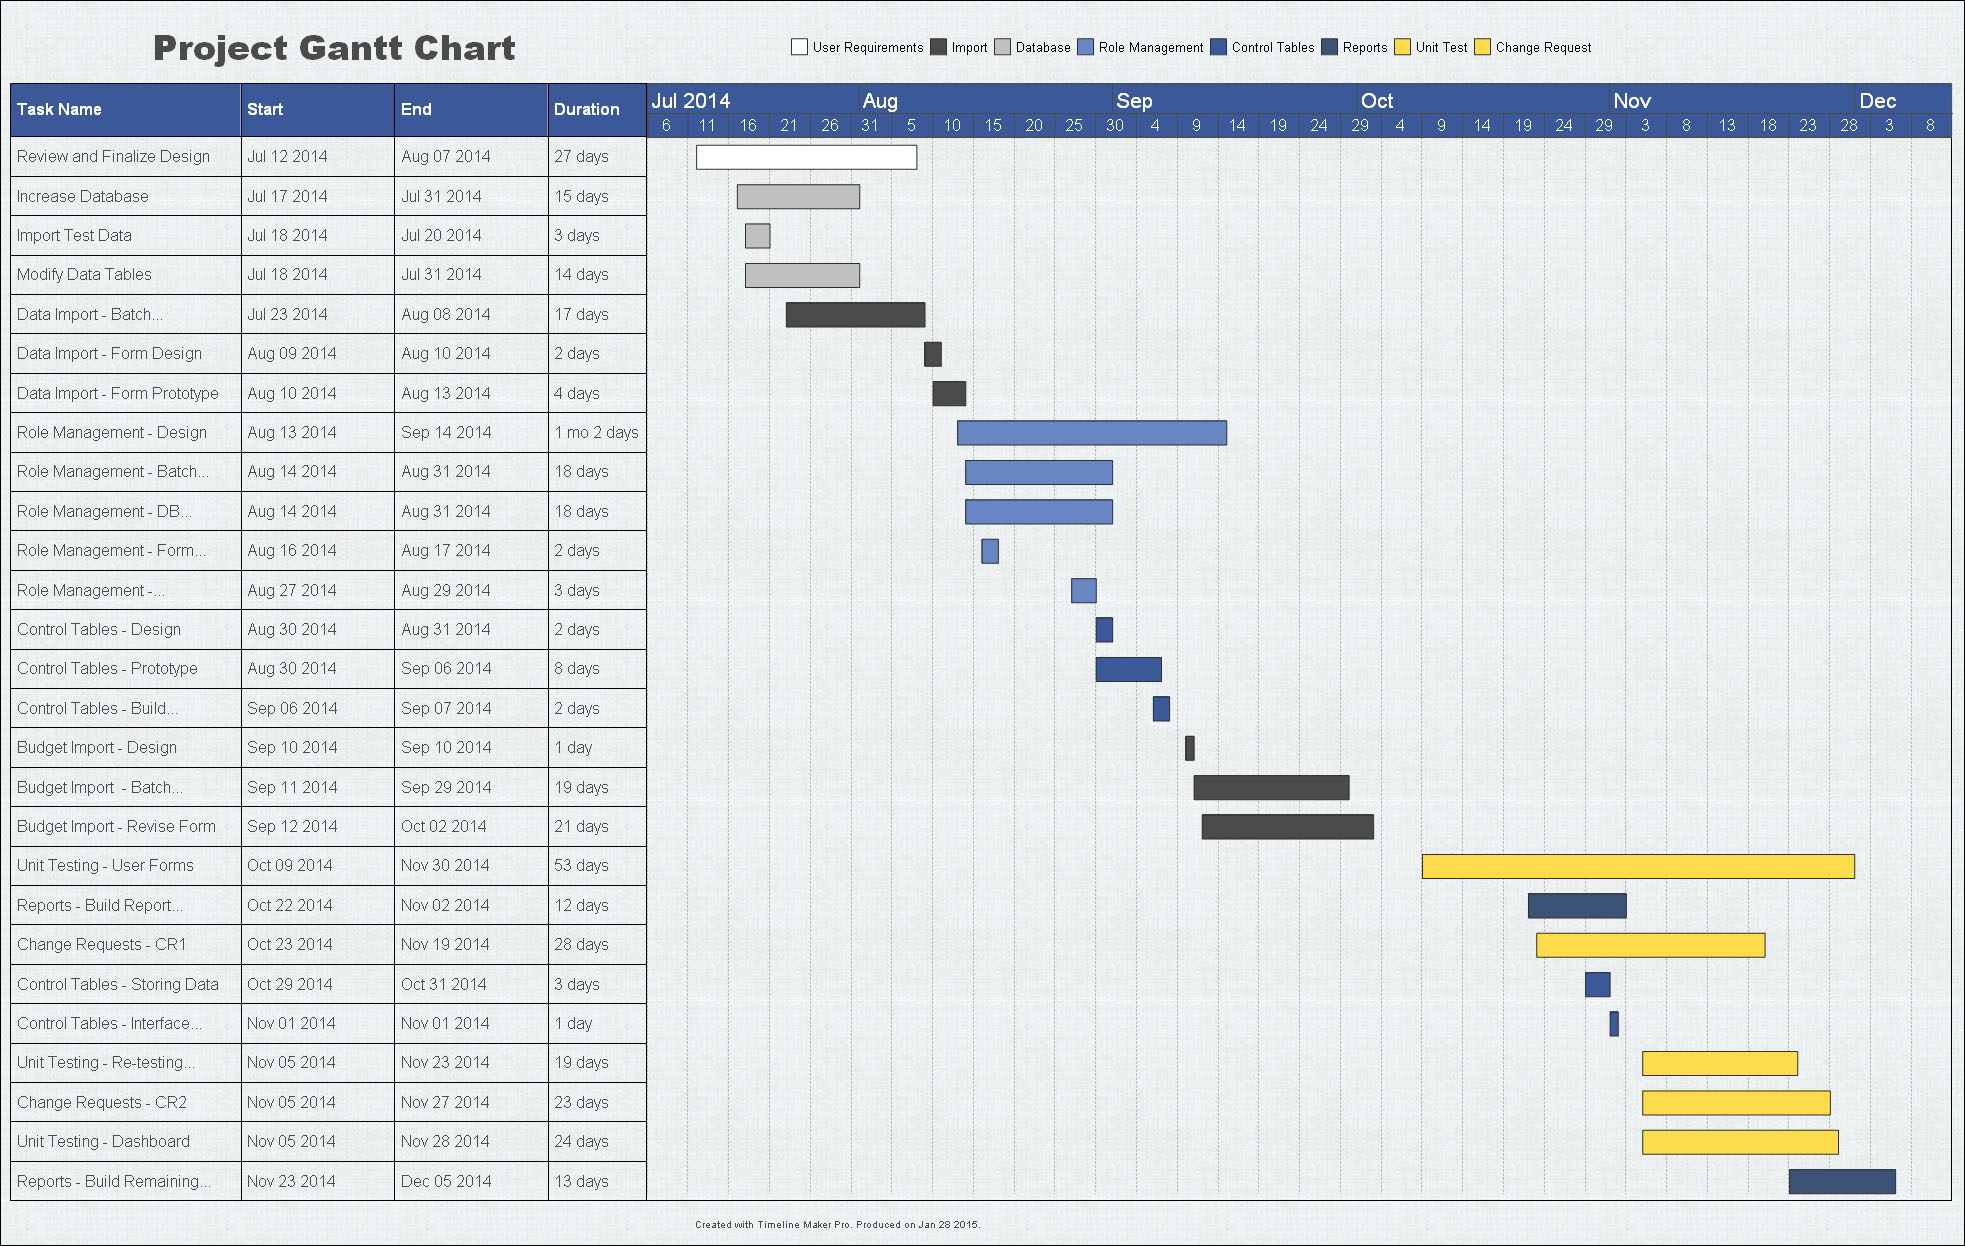
Using a spreadsheet or project management software, create a Gantt chart. This chart should include the task list, start and end dates, task dependencies, and task durations. Visualize the timeline of the project using bars to represent each task.
Step 5: Add Milestones and Deadlines
Add milestones and deadlines to the Gantt chart. Milestones are significant events or achievements in the project, while deadlines are the dates by which tasks or milestones should be completed.
Step 6: Share and Update the Planner
Once the Gantt project planner is created, share it with team members, stakeholders, and clients. Regularly update the planner to reflect actual progress and changes in the project.
Step 7: Monitor and Adjust
Continuously monitor the progress of the project using the Gantt chart. If delays or issues arise, make necessary adjustments to the schedule and allocate resources accordingly.
Step 8: Celebrate Achievements
When milestones or deadlines are reached, take the time to celebrate achievements. Recognize the efforts of the team and use these moments to motivate and energize the project.
Step 9: Evaluate and Learn
At the end of the project, evaluate the effectiveness of the Gantt project planner. Identify areas for improvement and apply these learnings to future projects.
When to Use a Gantt Project Planner?
A Gantt project planner can be used in various scenarios where project management is required. Here are some examples of when to use a Gantt project planner:
- Large-scale Projects: For complex projects with multiple tasks and dependencies, a Gantt project planner provides a clear overview of the project schedule.
- Team Collaboration: When working with a team, a Gantt project planner allows everyone to stay informed and aligned with project timelines.
- Client Communication: A Gantt project planner can be shared with clients to provide transparency and keep them updated on project progress.
- Resource Management: When managing limited resources, a Gantt project planner helps allocate resources effectively and prevent over or underutilization.
Conclusion
A Gantt project planner is a valuable tool for project management. It allows project managers to plan, schedule, and track progress more efficiently. By following the step-by-step guide provided in this article, you can create your own Gantt project planner and experience the benefits it offers.
Whether you are managing a large-scale project or collaborating with a team, a Gantt project planner will help you stay organized, improve communication, and achieve project success.
Gantt Project Planner Template Excel – Download